


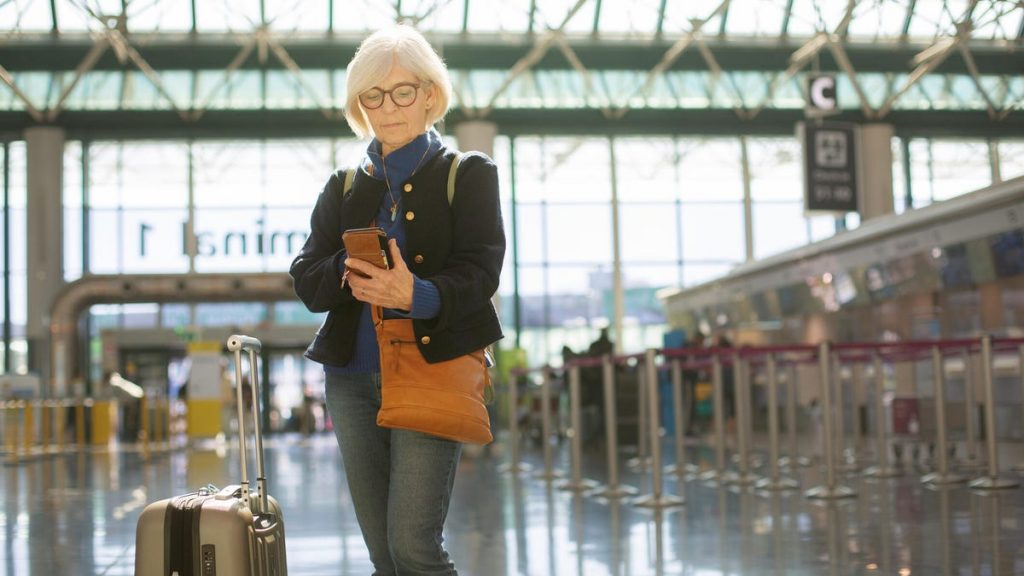
Travel is stressful enough dealing with airports, crowds and delays. Your iPhone should be a helpful travel companion, not a source of stress as work emails and pings bombard you when you’re supposed to be relaxing on vacation.
The good news is there’s a solution lurking in your iPhone’s settings that you may be overlooking: iOS Focus Modes.
This feature goes beyond the simple Do Not Disturb function you might be familiar with. In fact, you can create custom modes — such as one for travel — that can automatically switch your phone’s personality to provide only the info you need when traveling and total peace when relaxing.
Here’s a guide to building a custom Travel Focus mode, linking it to custom Home Screens and setting it up with handy automations.
Creating your custom Focus Mode
iOS Focus Modes have been around for a little while now. You might have noticed the preset options in your iPhone settings, which include the classic Do Not Disturb as well as modes for Work, Sleep and Fitness.
The idea behind these settings is simple: «You can control what can disturb you,» says Vira Tkachenko, chief technology and innovation officer and co-founder at software company MacPaw.
And while the iOS presets are a nice start, here’s what you’ll need to do to create a custom Focus Mode for travel.
Here’s how to start the setup:
-
Navigate to Settings, then Focus and tap the + icon to create a Custom Focus. I recommend using a clear name like «Vacation Mode» or «Travel» and selecting a relevant icon, such as a suitcase or airplane.
2. Manage notifications by choosing which apps and contacts you want to hear from during travel — and which you’d rather keep silent. You can tweak the individual settings here through People and Apps.
3. For People, you’ll want to allow notifications from only essential contacts, like family, travel partners, babysitters or pet sitters, and silence everyone else. But crucially, you can also opt to allow repeated calls from anyone, which means that if a contact you’ve selected (or an unknown number) rings you multiple times in a row, you’ll get the notification.
4. For Apps, you’ll want toenable notifications from only mission-critical apps, like Messages, airline apps, Maps, Find My, Uber/Lyft or WhatsApp for international contact. If you won’t be working, silence all productivity apps such as Slack, Gmail, Outlook and Calendar.
You can customize all these settings to your exact preferences and travel needs, too. The idea here is to figure out what works for you.
Next-level control: Custom screens and filters
If you want to be a real power user, you can take Focus Modes one step further with custom screens and filters. Here’s how that works.
Link to a custom home screen
Before setting up your Travel Focus Mode, you can also create a new, custom home screen that activates when you switch on your new focus mode. Call it your Airport Dashboard, if you will.
You can do this the same way you usually edit your lock and home screens in iOS:
- Tap and hold a blank area on your home screen and wait for the apps to start bouncing around. This means you’re in edit mode.
- Swipe left until you get to a blank page: Here’s your new canvas for a new home screen.
- Outfit this home screen page with essential travel apps and widgets, such as:
- Flights and transportation: Airline apps or flight-tracking apps like Flighty
- Location and tracking: Find My (to track checked luggage with AirTags)
- Time zones: Clock widget for the destination time zone
- Documents: A Notes widget linking to a note containing travel details, hotel confirmations, or QR codes
- Weather: Weather app for the forecast at the destination
4. Once you’re finished, tap Done in the top right corner to save this home screen.
After that, it’s time to link this new home screen to your Travel Focus Mode. Here’s how:
- Navigate to Settings, then tap Focus and select your Travel Focus Mode.
- On the Settings page for your Travel Mode, you’ll see an option for personalizing your lock and home screens.
- Tap the Home Screen option. This brings you to a new page where you can either select the home screen you just created or create a new one. Either way, this’ll be the home screen that activates when you turn on your Travel Focus Mode.
Using focus filters
There’s one more advanced feature that can take your Travel Mode to the next level: Focus filters.
This setting allows you to control what you see within certain apps. So, even if you don’t have an app totally disabled in your focus mode, you can still limit the distractions.
In Mail, for example, you can opt to show only your personal inbox, and hide your work account from view entirely. Or in Calendar, you can allow the Personal/Family calendar, while hiding the Work schedule.
To apply these filters:
- Head over to Settings, then tap Focus and select your Travel Focus Mode.
- On the Settings page for your Travel Mode, scroll to the bottom until you see Focus Filters and tap Add Filter.
- From there, you can choose the app you want to start with and customize its settings.
Automating your travel experience
Once you’ve personalized your Travel Mode, you can enable powerful automations to help make the experience even more seamless.
Location-based activation
Here’s where things get really cool: You can set the Focus Mode to activate automatically when you arrive at a specific location, like your home airport or the final hotel address. Again, you’ll find this feature on the Settings page for your Travel Focus Mode, under Smart Activation.
Alternatively, you can set it to run Until I Leave This Location when activating manually at your destination.
App-based activation
You can also set the Focus Mode to activate whenever you open a specific app, such as a streaming video app or a reading app (Kindle, Books).
This feature also lives within the Smart Activation section of your Travel Focus Mode settings page.
Cross-device syncing
Focus Modes aren’t only for your iPhone; they work on any device connected to your Apple ID. Make sure to enable the Share Across Devices setting, which then automatically switches your iPad, Apple Watch or MacBook into Focus Mode when you toggle the setting on your iPhone.
Once it’s set up, your Travel Focus Mode quietly does the work in the background, cutting down on distractions while keeping the information you actually need front and center.