


Taking photos can be a fun way to save and share memories, but sometimes getting a good picture can be difficult. For example, if you’re taking a selfie, you might find it hard to hold your phone at the right angle to get everyone in the shot while keeping your hand out of frame and still being able to press the capture button. But with Apple’s newly released iOS 26, you can now use your AirPods to take photos — so all you have to worry about is getting everyone’s best angle.
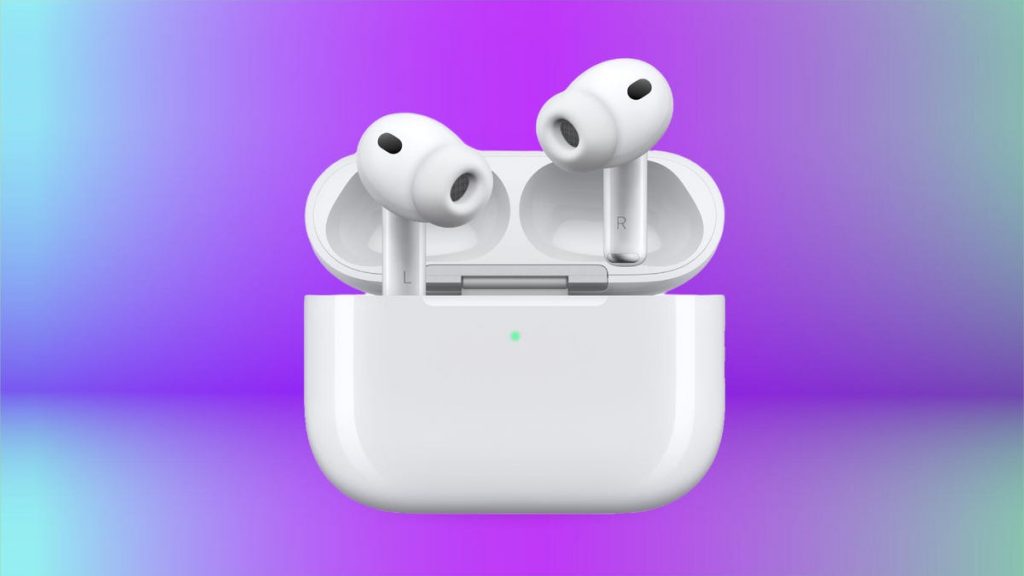
Apple released iOS 26 on Monday, a few months after the company announced it at the Worldwide Developers Conference in June. The update introduces a handful of new features to your iPhone, including call screening and a Liquid Glass redesign. It also introduces Camera Remote for AirPods, which lets you take a photo with a press on your AirPods. But you have to enable this feature and it only works with AirPods that have an H2 chip, such as the new AirPods Pro 3, the AirPods Pro 2 or the AirPods 4.
If you have a pair of compatible AirPods, here’s where to find the Camera Remote option and how to use it.
Don’t miss any of our unbiased tech content and lab-based reviews. Add CNET as a preferred Google source.
How to turn on the Camera Remote
1. Connect your compatible AirPods to your iPhone.
2. Tap Settings.
3. Tap your AirPods in the Settings menu.
4. Tap Camera Remote under Camera Control.
In the new menu, you can choose either Press Once or Press and Hold. This refers to how you will press the stem on your AirPods to take a picture. Tap whichever you prefer.
Now you can use your AirPods to snap a picture or shoot a video in Camera.
What to know about using your AirPods to take a photo
Once Camera Remote is enabled, you can use your AirPods to take a photo or shoot a video with any camera mode, like portrait and time-lapse.
When you use your AirPods to take a picture in a static mode, like photo or portrait, you will see a countdown from three in the top left corner of your photo’s frame. Your iPhone’s flash will also light up during the countdown to let you know a photo is about to be taken. If you’re taking a selfie, you will only see the numerical countdown on your screen.
The three-second countdown is automatically enabled and I can’t find a way to disable it. You can extend the countdown in your Camera by tapping the grid of dots in the top right corner of your screen, tapping Timer and tapping either 5s or 10s. You can tap 3s, but this won’t change the countdown.
When you take a video using your AirPods, you won’t see a timer or anything. Pressing your AirPods is just like pressing the record button on your iPhone. You can then press your AirPods again to stop recording.
It’s important to note that Camera Remote only works when at least one AirPod is connected to your iPhone. The easiest way to do this is to put one AirPod in your ear. If you want to take a photo but don’t want your AirPod to show in the picture, you can activate the photo process with Camera Remote, take the AirPod out of your ear during the three-second countdown and hold it in your hand or pocket until your iPhone takes the photo.
For more on iOS 26, here’s my review of the OS, how to reduce the Liquid Glass effects in the update and how to enable call screening on your iPhone. You can also check out our iOS 26 cheat sheet.